
Yardi payable invoice processing
How to Process Payable Invoices in Yardi Voyager: Step-by-Step Guide
Learn how to process payable invoices in Yardi Voyager with this step-by-step guide covering batch creation, invoice entry, GL coding, saving, and posting.
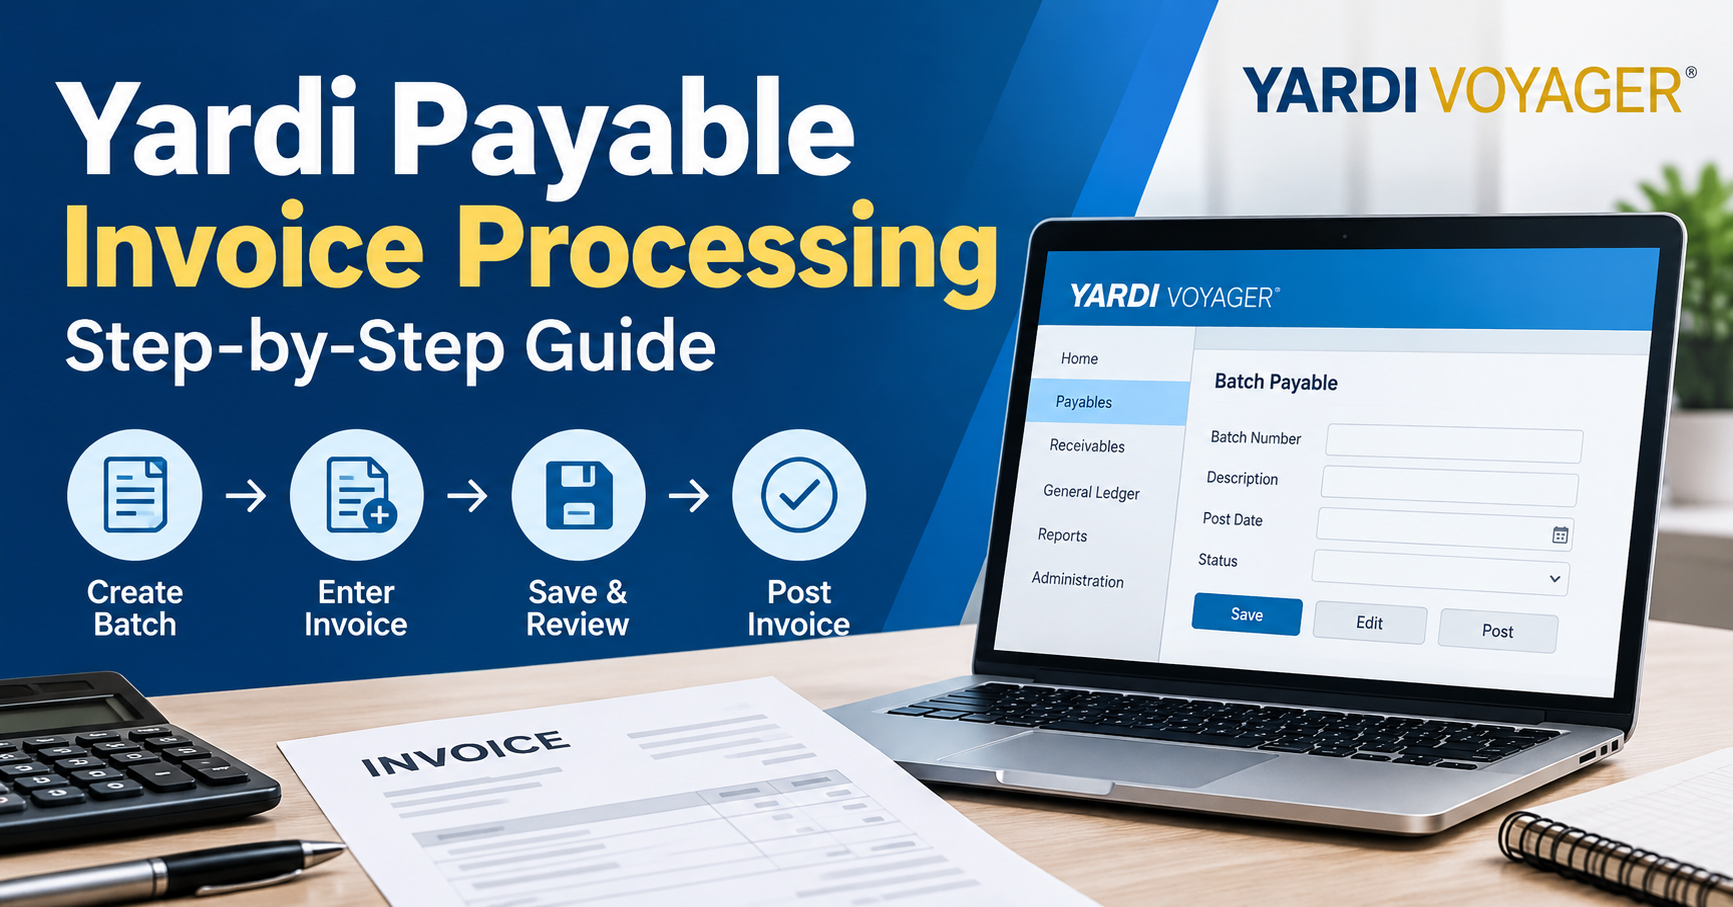
How to Process Payable Invoices in Yardi Voyager
Step-by-Step Accounts Payable Invoice Processing Guide
This practical Yardi Voyager accounts payable guide explains how to process a payable invoice from receipt in the AP mailbox through batch creation, invoice entry, review, and final posting. It is designed as a clear SOP for accounts payable teams using Yardi Voyager.
Quick Process Overview
Log in to Yardi Voyager.
Retrieve the payable invoice from the AP mailbox.
Open Payable and select Create Batch.
Open and save the Batch Payable.
Use the blank-page icon to open invoice entry.
Enter the required invoice and accounting details.
Save the invoice.
Return to Batch Payable, edit as required, and post.
Confirm that the invoice has been posted to Yardi.
Yardi Payable Invoice Processing: Step-by-Step
1. Log in to Yardi Voyager
Access the Fifteen Group Yardi system and log in to begin the payable invoice process.

Figure: Log in to Yardi Voyager
2. Retrieve the Invoice from the AP Mailbox
Get the payable invoice from the accounts payable mailbox. Keep the vendor invoice available because it will be the source for the invoice-entry fields.
3. Open Payable and Create a Batch
From Yardi Voyager, click “Payable” and then select “Create Batch.” This starts the batch used for payable invoice processing.

Figure: Open Payable and Create a Batch
4. Open the Batch Payable Screen
The Batch Payable screen opens. Review the batch information before continuing.

Figure: Open the Batch Payable Screen
5. Save the Batch
Click “Save” on the Batch Payable screen.

Figure: Save the Batch
6. Open the Invoice Entry Page
Select the indicated blank-page icon in the Payables area to open the invoice entry page.

Figure: Open the Invoice Entry Page
7. Open the Payable Invoice Interface
The Payable Invoice interface opens. This is where the invoice information and accounting details are entered.

Figure: Open the Payable Invoice Interface
8. Enter the Required Invoice Details
Manually enter all required information using the vendor invoice as the source. Complete the fields carefully before saving.
Payee
Invoice Number
Expense Type
Total Amount
Invoice Date
Post Date
Due Date
Entity
Amount
Account/GL Code
Notes
Payment Method

Figure: Enter the Required Invoice Details
9. Save the Payable Invoice
After completing the required fields, click “Save.”
10. Edit the Batch Payable
The Batch Payable screen opens again. Click “Edit” and complete any required batch fields.

Figure: Edit the Batch Payable
11. Apply the Edit and Post
After applying the edit, click “Post” to post the batch.

Figure: Apply the Edit and Post
12. Confirm the Invoice Posting
Confirm that the invoice has been posted successfully to Yardi.
Invoice Entry Checklist
Before posting, verify that the invoice details entered in Yardi match the vendor invoice, including the invoice number, dates, amount, entity, GL/account coding, notes, and payment method.
|
Field |
What to Verify |
|
Payee |
Correct vendor/payee |
|
Invoice Number |
Matches the vendor invoice |
|
Total Amount |
Matches the invoice total |
|
Invoice / Post / Due Dates |
Dates are entered correctly |
|
Entity |
Correct entity/property |
|
Account / GL Code |
Correct accounting code |
|
Notes |
Clear supporting description |
|
Payment Method |
Correct payment method |